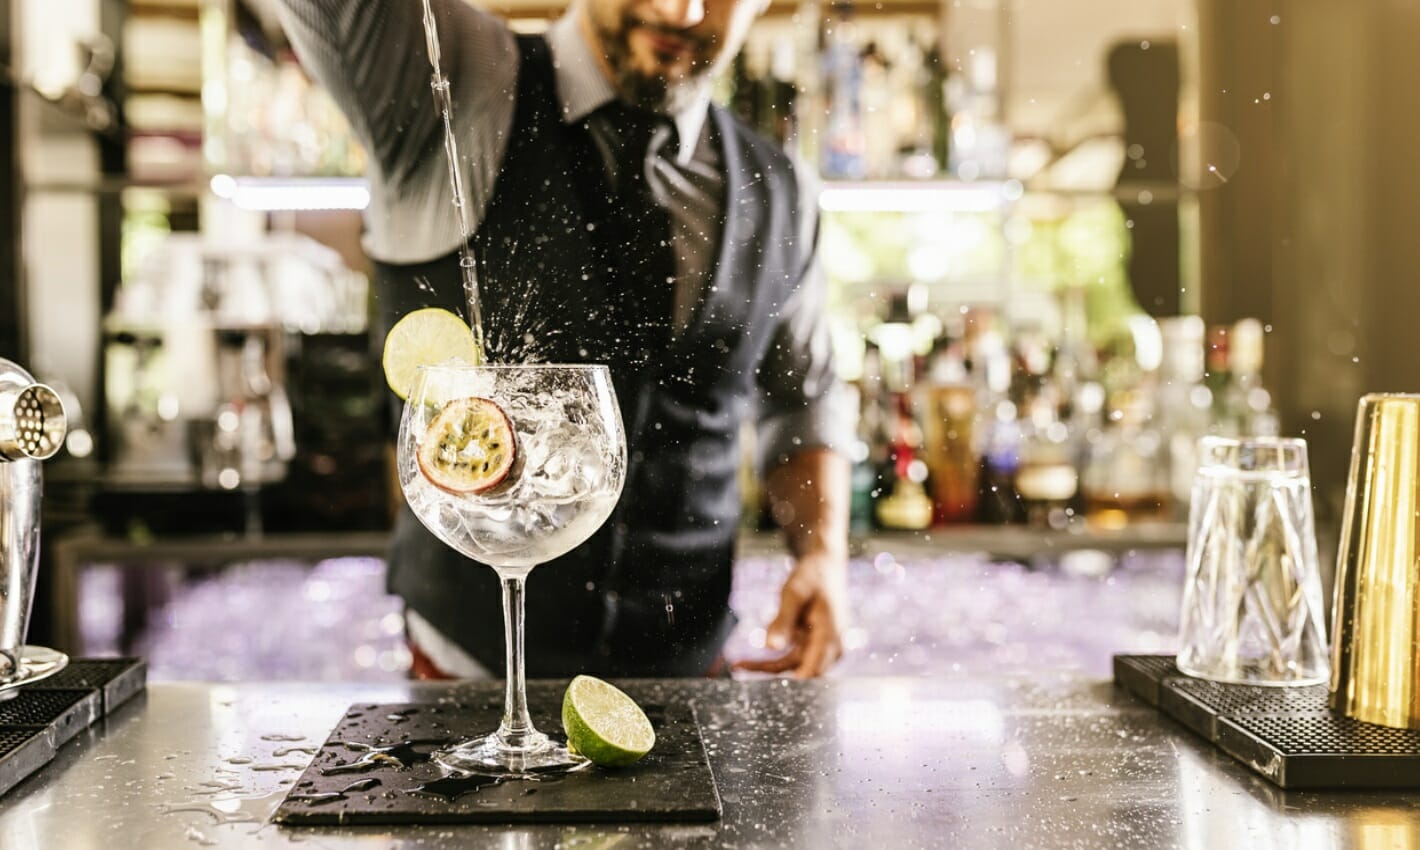
Ever wondered what it’s like to be the one who stands behind the bar, creating the most memorable and tastiest cocktails? The Ice Co have the tips and knowledge you need, to guide you into becoming a mixologist in this 4 part blog series. We will explain the key components of becoming a scientist in cocktail making, so you’re the most talked about party host in town! The art of being a mixologist is in your hands so don’t forget to follow each blog to find all the information you need. In this first blog you will find the necessary tools you need in your start-up kit!
Tool number 1
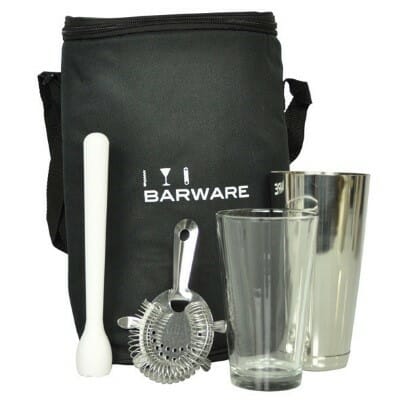
The Bag: Store all your tools away in a bag that has lots of handy compartments. This way all your loose tools are less likely to get lost and you can build up a neat professional kit, to show off to your friends at your cocktail parties!
Tool number 2
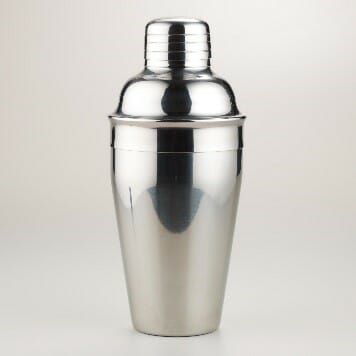
The Shaker: The ideal shaker will fit comfortably in your hands and won’t leak or let you down half way through shaking. Try to avoid the plastic shakers and stick with the metal sort. If you are buying your cocktail shaker from a shop and have chance to have a play with it, do! This way you can get a feel for how you would use it in your hands.
Tool number 3
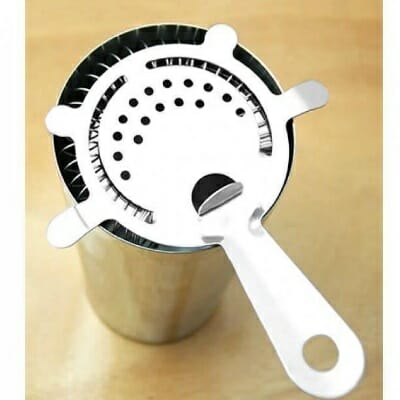
The Strainer: You can use 2 different style strainers in cocktail making. One style is the coiled spring strain which is used with the cocktail shaker to help strain a chilled drink into a glass. The fine strainer will ensure the cocktail is a fine liquid, with limited pulp or bits.
Tool number 4
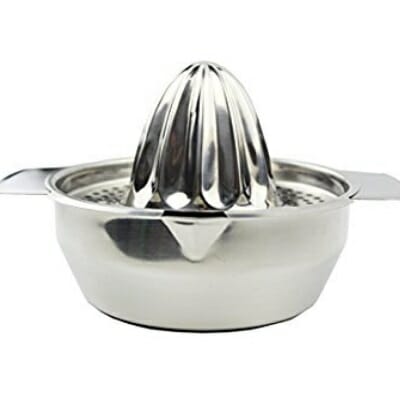
The Juicer: This is so you can get the freshest juices into your cocktails. Avoid the readymade juice you can buy. A citrus pressed juicer is strongly recommended. Allowing the juice from the fruit to drop through into the bowl of the juicer. Ready to then be measured and poured into a drink.
Tool number 5
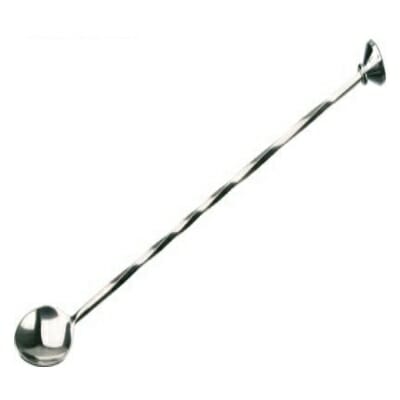
The Bar Spoon: When you’re stirring not shaking, it’s handy to have a long handled spoon to mix the drink. This bar spoon does 2 jobs in one as the other end can be used as a muddler, for muddling mint leaves into a cocktail favourite. Handy tool for the cocktail kit!
Tool number 6
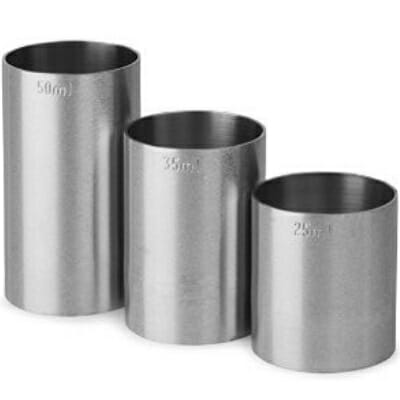
The Measurer: Measurement cups are a vital tool in your kit! Use each measurement cup to understand the measures in a cocktail recipe. It definitely beats guessing amounts and using too much alcohol to quickly! If you are unsure of measurements and how to convert them e.g. what’s the difference between a splash and a measure then check out our “Knowing your dash from your splash blog!”
Tool number 7
The Knife: Sharp knives can save so much time when it comes to cutting garnishes and other fruity ingredients, it also ensures a clean cut so there are no scruffy edges! A paring knife is the ultimate style of knife to have in your cocktail making kit.
Tool number 8
The Chopping Board: Not only can they look good and professional, a lightweight chopping board will come in handy when travelling with your cocktail kit. Now you don’t want to have to explain to your friend why you have knife marks in their brand new kitchen table do you!
Tool number 9
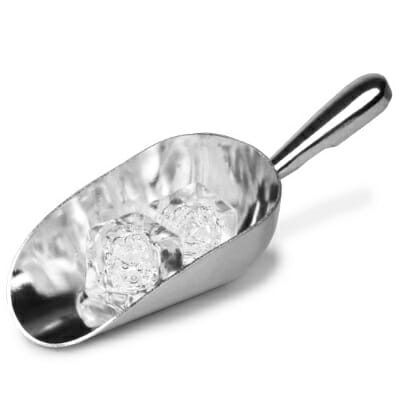
The Ice Scoop: Ice trays are a thing of the past. Bags of ice are not only much more convenient, but much more hygienic. A scoop is therefore essential so you don’t have to use your hands! Keep one in your kit because did you know that nearly all cocktails have ICE in the ingredients list?
Tool number 10
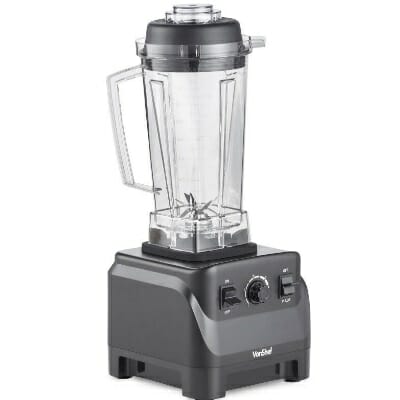
The Bar Blender: When the summertime hits, all your friends will be looking for you to make a frozen slushy type drink! Choose one with a large capacity so you can serve up measures for more than one person!
With 10 key tools in your cocktail making kit, you’re now 1 step closer to becoming a mixologist! So what are you waiting for? Read the next part of how to become a mixologist here… “Part 2: Knowing your Glassware!”

